Garage Gym Setup 2026 | Complete Build Guide

Thirty years of training at home. Built multiple home gyms from bare garages to proper setups. I know what equipment lasts, what breaks, and what becomes an expensive clothes rack.
Just so you know, some links on this page are affiliate links. If you buy something via them, we get a small kickback. You don't pay more, but it helps toward the next bit of kit.
Looking for more equipment recommendations?
Browse All GuidesYour garage has more potential than any gym membership. It's sitting there right now - unused square footage that could become the most consistent training environment you've ever had. No commute, no waiting for equipment, no monthly fees bleeding out forever. Just your space, your equipment, your schedule.
The essentials: Start with rubber flooring and a CAP Barbell Olympic Weight Set. Those two get you lifting safely for under $350.
The Quick Numbers
| Setup Level | Budget | Space Needed |
|---|---|---|
| Basic | $1,600-2,500 | 8' x 8' |
| Mid-range | $3,500-5,000 | 13' x 13' |
| Premium | $9,200+ | 16' x 20' |
Standard single-car garage: approximately 18ft x 8ft = just enough for a basic setup with careful planning.
Standard two-car garage: approximately 18ft x 18ft = plenty for a mid-range or premium setup.
These numbers are real-world ranges based on current Amazon pricing and what home gym communities report spending. Your mileage varies with second-hand finds.
Step 1: Measure Everything (Twice)
Most garage gym regrets start with bad measurements. Get this wrong and expensive equipment becomes an awkward obstacle course.
Floor space: Walk through your garage with a tape measure. Mark where the car goes (if keeping it), where storage lives, where you'll walk. Draw it on graph paper or use a free room planner app.
Ceiling height: Power racks need 7'2" minimum clearance from floor to the top of the upright. Pull-ups need your height plus 12 inches plus bar thickness. Standard garages run approximately 8 feet, which is tight but workable for most people under 6'2". If you are taller, look for short racks (71-inch models exist) or consider a wall-mounted pull-up bar positioned where ceiling height is greatest. Overhead press clearance is a separate issue entirely and catches people off guard.
Door clearance: Can a rower fit through the side door? Will the rack clear when you roll it in through the garage door? Measure the narrowest point on the path from delivery truck to final position.
Width matters more than you think. A 7-foot Olympic bar is actually 7'2" end to end. In an 8'2" wide garage, that leaves 6 inches each side for loading plates. It works, but it's annoying every single session. A 6-foot bar eliminates the problem entirely and handles the same weight for home training.
Overhead obstacles: Check for garage door tracks, light fixtures, and anything that hangs from the ceiling. These define where the rack can and cannot go. Mark them on your floor plan before ordering anything.
Step 2: Flooring First
Lay flooring before bringing in any equipment. Moving a loaded power rack to retroactively install floor tiles is genuinely miserable work that nobody does properly.
The Options
| Type | Cost (per sq ft) | Thickness | Best For |
|---|---|---|---|
| Horse stall mats | approximately $1.50-2.00 | 3/4" | Best value, extremely durable |
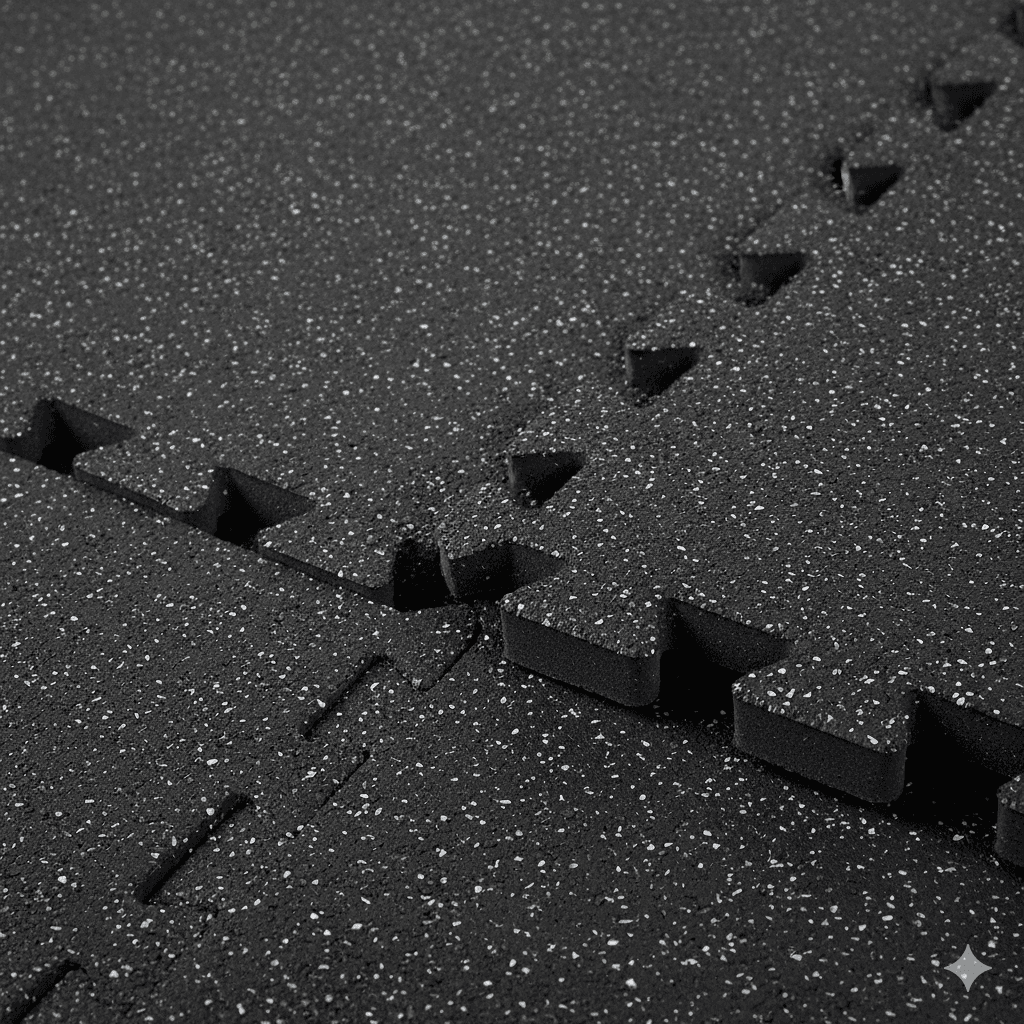
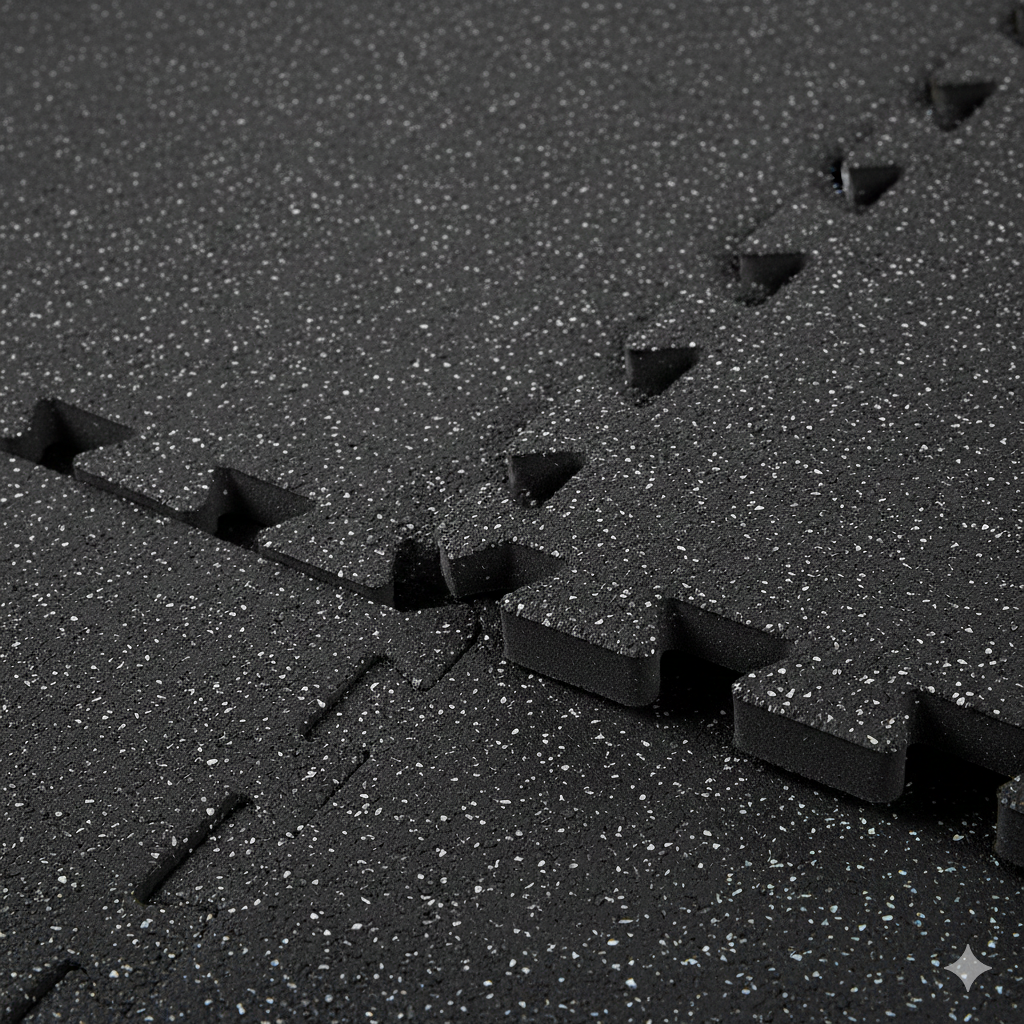
| Rubber gym tiles | approximately $2.50-4.00 | 3/4"-1" | Purpose-made, interlock, no smell |
| Puzzle mats (EVA foam) | approximately $1.00-1.50 | 1/2" | Light use only, not for dropping weight |
The recommendation: SUPERJARE Rubber Gym Floor Tiles for interlocking tiles that handle dropped weights without shifting. Or horse stall mats from Tractor Supply if you're on a tight budget - same rubber, less marketing, slight smell for the first week. *(Price when reviewed: approximately $120 | Check Price on Amazon)*
Cover the whole floor. Patchy flooring looks bad, creates uneven surfaces for lifting, and you'll regret it the moment you want to add equipment in an uncovered area. Buy 10% extra for cuts and waste.
Step 3: Core Equipment - The Priority Buy Order
Buy in this order. Each piece is useful on its own, and you can train productively at every stage while saving for the next piece.
Phase 1: Barbell, Plates, and Floor (Day 1)
You can deadlift, row, clean, press, and do floor press with nothing but a barbell and plates on rubber flooring. No rack needed yet.
CAP Barbell Olympic Weight Set includes a 45 lb Olympic bar and 110 lb of plates. Solid starting point. *(Price when reviewed: approximately $230 | Check Price on Amazon)*
Plates hold their value. Used iron plates sell for 80-90% of retail on Facebook Marketplace and work identically to new ones. Check local listings before buying new - you can often outfit an entire gym for half price.
Plate math: Start with 200+ lb total. That sounds like a lot but covers one moderate squat working set plus warmup plates. Plan for 300-400 lb total as an intermediate target. Buy incrementally as you progress.
Bumper plates vs iron plates: Bumper plates (thick rubber) are designed for dropping safely - essential for Olympic lifts like cleans and snatches. Iron plates are thinner and cheaper per pound. For a garage gym with rubber flooring, either works for standard barbell movements. Get bumpers if you plan to do Olympic lifts; iron if budget matters more.
The barbell itself matters more than most people realize. Cheap barbells in the $50-80 range flex unpredictably during heavy deadlifts, have aggressive knurling that tears your hands apart, and use poor-quality bearings that make Olympic lift rotation stiff and jarring. A quality bar in the $200-300 range gives you medium knurling that grips without shredding skin, proper whip for dynamic lifts, smooth sleeve rotation, and durability that handles daily use for a decade or more. The CAP starter set bar works fine while you learn the movements, but budget for an upgrade once you are consistently lifting heavy. The Rogue Ohio Bar and Bells of Steel Cerakote are the most recommended options in serious home gym communities for good reason.
Phase 2: Power Rack (Week 2-4)
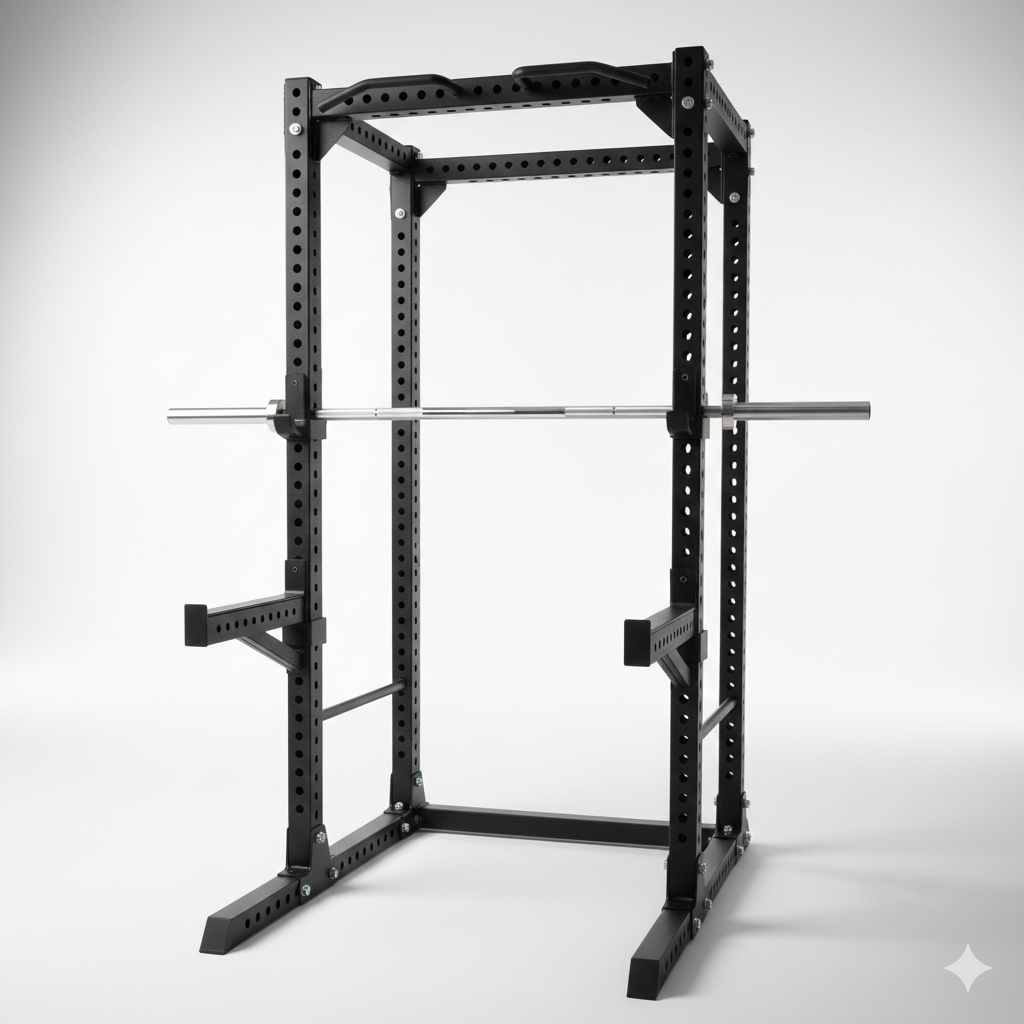
The centerpiece of a strength training garage gym. A proper rack with safety bars means you can bench press and squat heavy without a spotter.
| Option | Capacity | Notes |
|---|---|---|
| ULTRA FUEGO Power Cage | 550 lb | Dip bars included, great value |
| CAP Barbell Power Rack | 660 lb | More capacity, adjustable width |
Either handles the vast majority of home lifters. Both include J-hooks with protective inserts and adjustable safety bars.
What to look for in a rack: J-hooks with rubber or plastic inserts (steel-on-steel destroys your barbell knurling over time). Adjustable safety bars that you can set 2-3 inches below your failing position for bench and squat. A pull-up bar rated for your bodyweight plus momentum. Weight capacity of 500+ lb covers nearly all home training scenarios.
For pull-up bar recommendations, see the best pull-up bars US guide.
Full cage vs squat stands: Full four-post cages are significantly safer for solo training because the safety bars span the full width. Squat stands (two posts) cost less and need less space but don't offer the same catch coverage if you fail a lift sideways. For garage gyms where you train alone, a full cage is the right call.
Phase 3: Bench (Week 2-4)
The Yoleo Adjustable Bench fits inside most rack widths and handles heavy loads. Six angle positions from flat to steep incline, solid steel frame construction. *(Price when reviewed: approximately $180 | Check Price on Amazon)*
Flat vs adjustable: Always get adjustable. The price difference is minimal, and incline pressing, seated overhead press, and incline rows all require angle adjustment. A flat-only bench limits your exercise selection permanently.
Phase 4: Cardio (Month 2+)
Add this once the strength foundation is solid and you've confirmed the training habit.
| Option | Space (in use) | Storage |
|---|---|---|
| Concept2 RowErg | 8' x 2' | Folds upright against wall |
| MERACH Exercise Bike | 4' x 2' | Transport wheels, roll to wall |
The Concept2 is the gold standard - lasts decades, holds resale value, full-body cardio. The MERACH is a solid budget option that takes half the space. Either beats running on concrete for joint impact.
Step 4: Climate Control
Garages are freezing in winter and can be brutal in summer. Solving climate is the difference between a gym that gets used year-round and one that collects dust from November to March.
Heating
The real fix: insulate the garage door first. Most heat escapes through the uninsulated metal door. Insulation panel kits cost $60-80 and make more difference than any heater. This is the highest-ROI improvement you can make.
Portable electric heaters: Work for most garages in moderate climates. Run one for 10-15 minutes before training, turn off during the session. Your body heat keeps the space warm enough once you're moving. Budget: $35-60.
Portable propane heaters: Better for very cold climates (below 25 degrees Fahrenheit). More heat output than electric. Require ventilation - crack the garage door 2-3 inches. Budget: $60-100.
Infrared panels: Heat you directly rather than heating the air. Efficient for large or poorly insulated spaces. Mount on the wall near your main training area. Budget: $120-200.
Cooling
Open the garage door. Add a high-velocity floor fan for still days. That handles 90% of US climates. For extreme heat (Southwest desert, deep South humidity), a portable evaporative cooler ($80-150) helps but works best in dry heat. True AC for a garage is expensive and usually unnecessary if you train early morning or evening.
Step 5: Lighting and Finishing
Most garages have one sad incandescent bulb. Proper lighting transforms the space from "storage area with weights" to "actual gym."
LED shop lights cost $20-30 each and are extremely bright. Mount 2-3 across the ceiling for even coverage. Linkable LED fixtures let you daisy-chain them from a single outlet.
Color temperature: 5000K or higher (cool white/daylight). Warmer light (2700-3000K) is for living rooms, not training spaces. Cool light improves alertness and makes the space feel cleaner and more energizing.
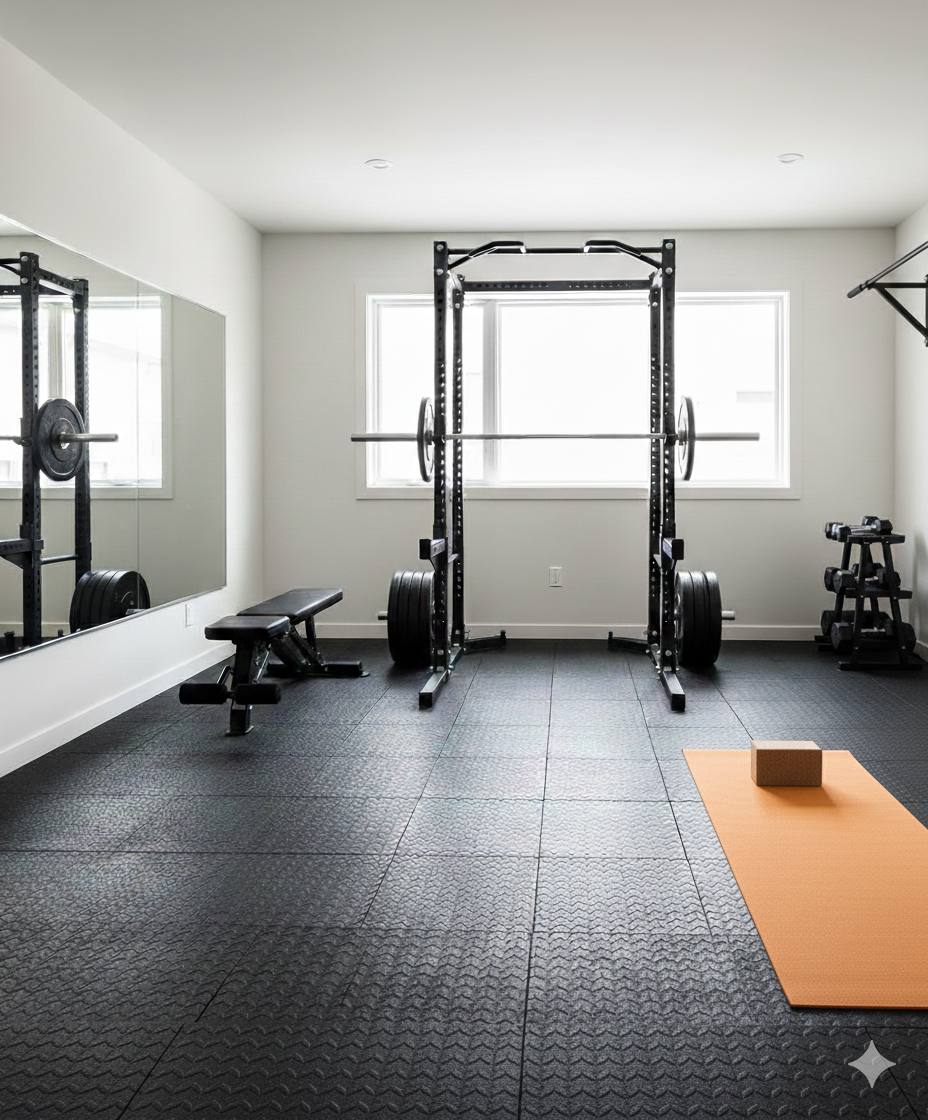
Mirrors: Optional but useful. A 4x6 foot wall mirror from a home improvement store ($80-120) helps check form on squats and deadlifts. Mount at a height where you can see your full body during a standing lift.
Buying Second-Hand: The Smart Approach
The home gym second-hand market is excellent because equipment is heavy, durable, and people frequently sell barely-used gear when motivation fades.
Where to look: Facebook Marketplace is the primary source. Craigslist still has listings in some areas. OfferUp and local gym equipment resellers round out the options.
What to buy used: Iron plates (virtually indestructible), barbells (check for bend by rolling on flat surface), power racks (inspect welds and bolt holes), benches (check padding condition and frame straightness). These items are simple steel and rubber - condition is easy to assess visually.
What to buy new: Rubber flooring (hygiene), anything with cables or pulleys (wear is hard to assess), electronics and monitors on cardio equipment (failure risk increases with age).
Pricing guide: Used equipment typically sells at 50-70% of retail for lightly used items. Heavily used or older equipment drops to 30-50%. January and February see the highest volume of listings as New Year's resolution equipment hits the market - best time to buy.
Negotiation: Sellers of heavy equipment are motivated. Nobody wants 400 lb of iron plates sitting in their garage for another month. Offer 70% of asking price, bring cash, and bring help to load. Most sellers accept a reasonable bid quickly.
Full Budget Breakdown
Basic Setup (approximately $1,610)
| Item | Cost |
|---|---|
| Power rack | $180 |
| Barbell + 110 lb plates | $230 |
| Additional plates (110 lb) | $180 |
| Adjustable bench | $180 |
| Rubber flooring (approximately 108 sq ft) | $450 |
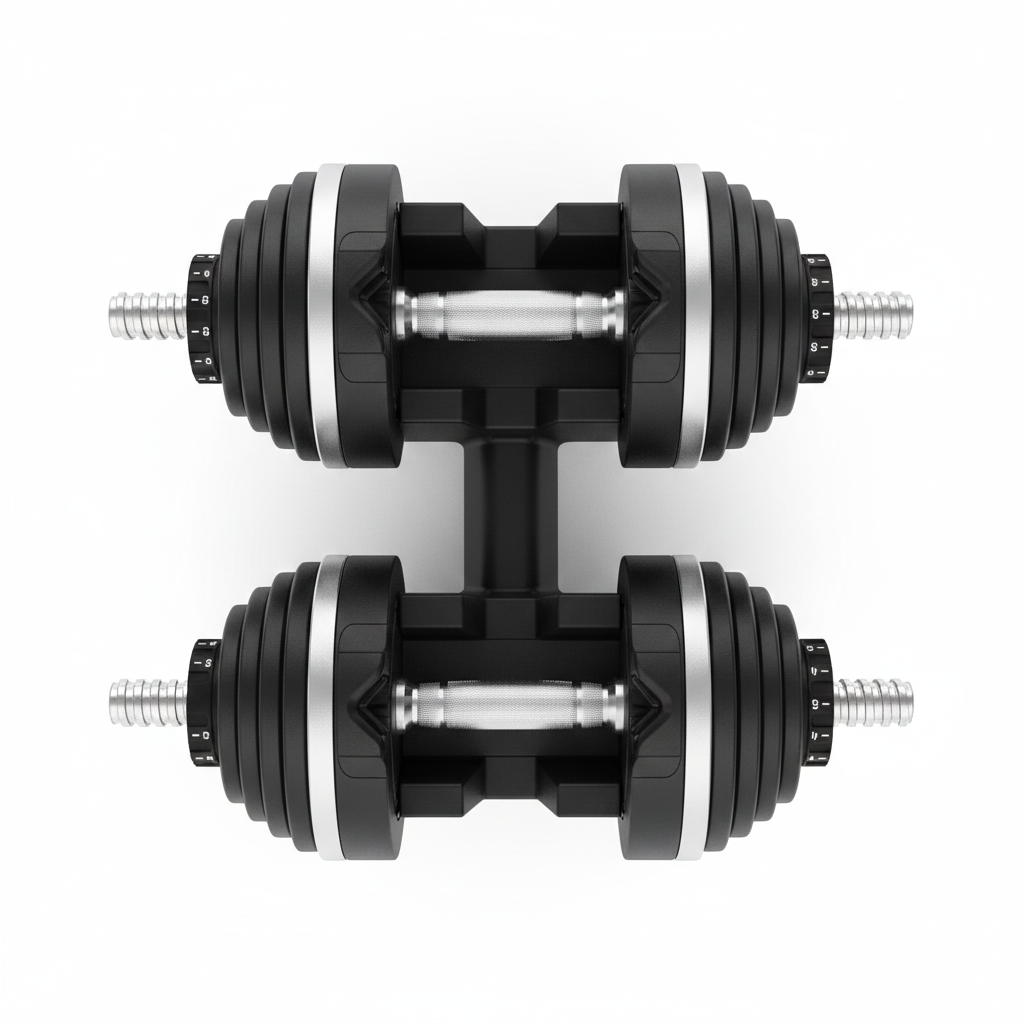
| Dumbbells (adjustable set) | $230 |
| Accessories (mat, bands, chalk) | $60 |
| Heater | $50 |
| Lighting (2x LED shop lights) | $50 |
| Total | approximately $1,610 |
Mid-Range Setup (approximately $4,000)
Add to basic: - Quality cardio (Concept2 rower or exercise bike): $550-1,100 - More plates (additional 200 lb): $230 - Wall mirrors: $120 - Better lighting (4x linkable LEDs): $120 - Bluetooth speaker: $60
Premium Setup ($9,200+)
Add to mid-range: - Cable machine or functional trainer: $1,500-3,000 - Full bumper plate set: $500-800 - Specialty bars (trap bar, curl bar): $200-400 - Dip station or wall-mounted dip bars: $100-200 - Concept2 BikeErg (second cardio option): $1,100 - Garage door insulation + climate control: $200-400 - Full rubber flooring with platform insert: $300-500
Organising a Small Garage
One-car garages (approximately 180-220 square feet usable) require careful layout but absolutely work for a complete home gym.
The rack goes against the back wall. This maximizes the longest dimension for barbell movements and keeps the garage door area clear for ventilation and access.
Vertical storage is essential. Wall-mounted plate trees and bar holders keep the floor clear. Budget $60-100 for wall storage hardware. This is not optional in a small space - plates on the floor are trip hazards and waste square footage.
Folding bench. When not in use, fold the bench flat and lean it against a wall or slide it under the rack. This frees 6-8 square feet of floor space between sessions.
Cardio placement. A foldable rower stores upright against a side wall. An exercise bike tucks into a corner. Neither should block the path between rack and plate storage.
The workflow test: Before finalising the layout, walk through your typical training session mentally. Squat: can you load the bar without moving other equipment? Bench: does the bench fit inside the rack with room to position yourself? Deadlift: is there enough floor space in front of the rack to pull? If any movement requires rearranging equipment, adjust the layout.
What to Avoid
Buying before measuring. Equipment that doesn't fit your space is useless and expensive to return (shipping costs on heavy items are brutal).
Forgetting ceiling height. Overhead press with a 7-foot bar in a standard 8-foot garage means the plates hit the ceiling. Check clearance for every overhead movement you plan to do.
Skipping flooring. Training on bare concrete is uncomfortable, damages equipment, and looks terrible. It also makes every dropped weight echo through the house.
Starting with machines. Smith machines, cable crossovers, and leg press machines eat space and limit exercise variety. Free weights first. Machines later, if ever, and only if space allows after the essentials are in place.
No plate storage plan. Iron plates scattered on the floor are trip hazards, look terrible, and rust faster from ground moisture. Wall-mounted storage or a plate tree costs $40-80 and solves this permanently.
Ignoring climate control. A freezing garage in January kills training consistency faster than any other factor. Solve heating before your first winter. The $60 insulation kit for the garage door is the single best investment after the equipment itself.
Going all-in before confirming the habit. Spending $5,000 on a full setup before you've trained consistently for a month is a gamble. Phase the purchases: flooring and barbell first, rack and bench second, everything else after you've proven the routine sticks.
Long-Term Value
The math is straightforward and compelling.
Average gym membership: $50-80/month = $600-960/year. Over 10 years: $6,000-9,600, with nothing to show for it when you cancel.
Basic garage gym (new): approximately $1,600-2,000 one-time cost. Break-even: 20-33 months. After that, every session costs effectively nothing. The equipment lasts decades with minimal maintenance.
But dollars aren't the full picture. A gym membership requires a commute (20-40 minutes round trip). It requires waiting for equipment during peak hours. It's unavailable at midnight when you can't sleep or at 5 AM before the kids wake up. It closes on holidays. A garage gym removes all of that friction permanently.
People who convert to garage gyms consistently report training more frequently. The commute barrier is massively underrated - remove it and training frequency typically increases 30-50% for the same total time investment. Three sessions per week becomes four or five, not because of willpower, but because walking 30 feet is easier than driving 15 minutes.
Resale value: Quality gym equipment holds value remarkably well. A Concept2 rower sells used for $800-900 three years later. Iron plates barely depreciate at all. If circumstances change, you recover 60-80% of your investment - try that with 36 months of gym membership payments.
Frequently Asked Questions
How much space do I need for a basic garage gym?
Minimum functional space is approximately 8x8 feet - enough for a squat rack, barbell, bench, and 3-4 feet of working clearance. A standard single-car garage (approximately 18x20 feet) is generous for a complete setup. A 7-foot Olympic bar needs 7.5+ feet of clear width for loading plates comfortably. If your garage is narrower than 8 feet in any direction, consider a 6-foot bar instead.
What's the first thing I should buy?
Flooring. Everything else depends on having a protected, level surface. Rubber gym tiles or horse stall mats come first, before any equipment. Lay the flooring, plan the layout on the actual surface, then order equipment. Moving a loaded rack to install flooring underneath is work nobody does properly.
Can I build a garage gym for under $1,000?
Yes, especially buying second-hand. Used route: horse stall mats from Tractor Supply ($100-150), used barbell and 200 lb plates from Facebook Marketplace ($100-200), used squat stands ($80-150), used adjustable bench ($50-80). Total: $330-580. New budget route: rubber flooring, a CAP barbell set, a basic squat stand, a flat bench. Total: approximately $550. Both get you a functional strength training setup.
What about heating and cooling?
Heating: insulate the garage door first ($60-80) - this is the single biggest improvement. Then add a portable heater ($50-80) to run before sessions. For cooling: open the garage door, add a floor fan. Garages ventilate well when open. A portable evaporative cooler ($80-150) helps in dry heat climates. True AC is overkill for most garage gyms.
Should I get a power rack or squat stands?
Power rack (full cage) if you train alone and plan to bench press and squat heavy. The safety bars catch the bar if you fail - that's peace of mind worth the extra cost and space. Squat stands work if budget is very tight or space is extremely limited, but add spotter arms for safety. Solo heavy lifting without safety bars is genuinely dangerous.
Do I need rubber flooring for a garage gym?
Yes, if you're doing any barbell work. Dropping weight onto bare concrete damages both the floor and the equipment. Rubber flooring absorbs impact, reduces noise (your family and neighbors will thank you), and gives a non-slip surface for heavy lifts. Horse stall mats at $1.50-2.00 per square foot are the most cost-effective option and handle any load a home gym produces.
The garage gym is the end state most committed home trainers arrive at eventually. Build it in phases, solve climate before winter, and measure twice before ordering anything. The first session in a space you built yourself delivers something no commercial gym can match - complete ownership of your training, on your schedule, with zero friction between the decision to train and the first rep.
As an Amazon Associate, we earn from qualifying purchases.
Products Mentioned in This Guide
Frequently Asked Questions
Related Guides
Find Your Perfect Equipment
Expert guides for racks, barbells, plates, benches, and more. Build your home gym the right way.
Browse All Guides